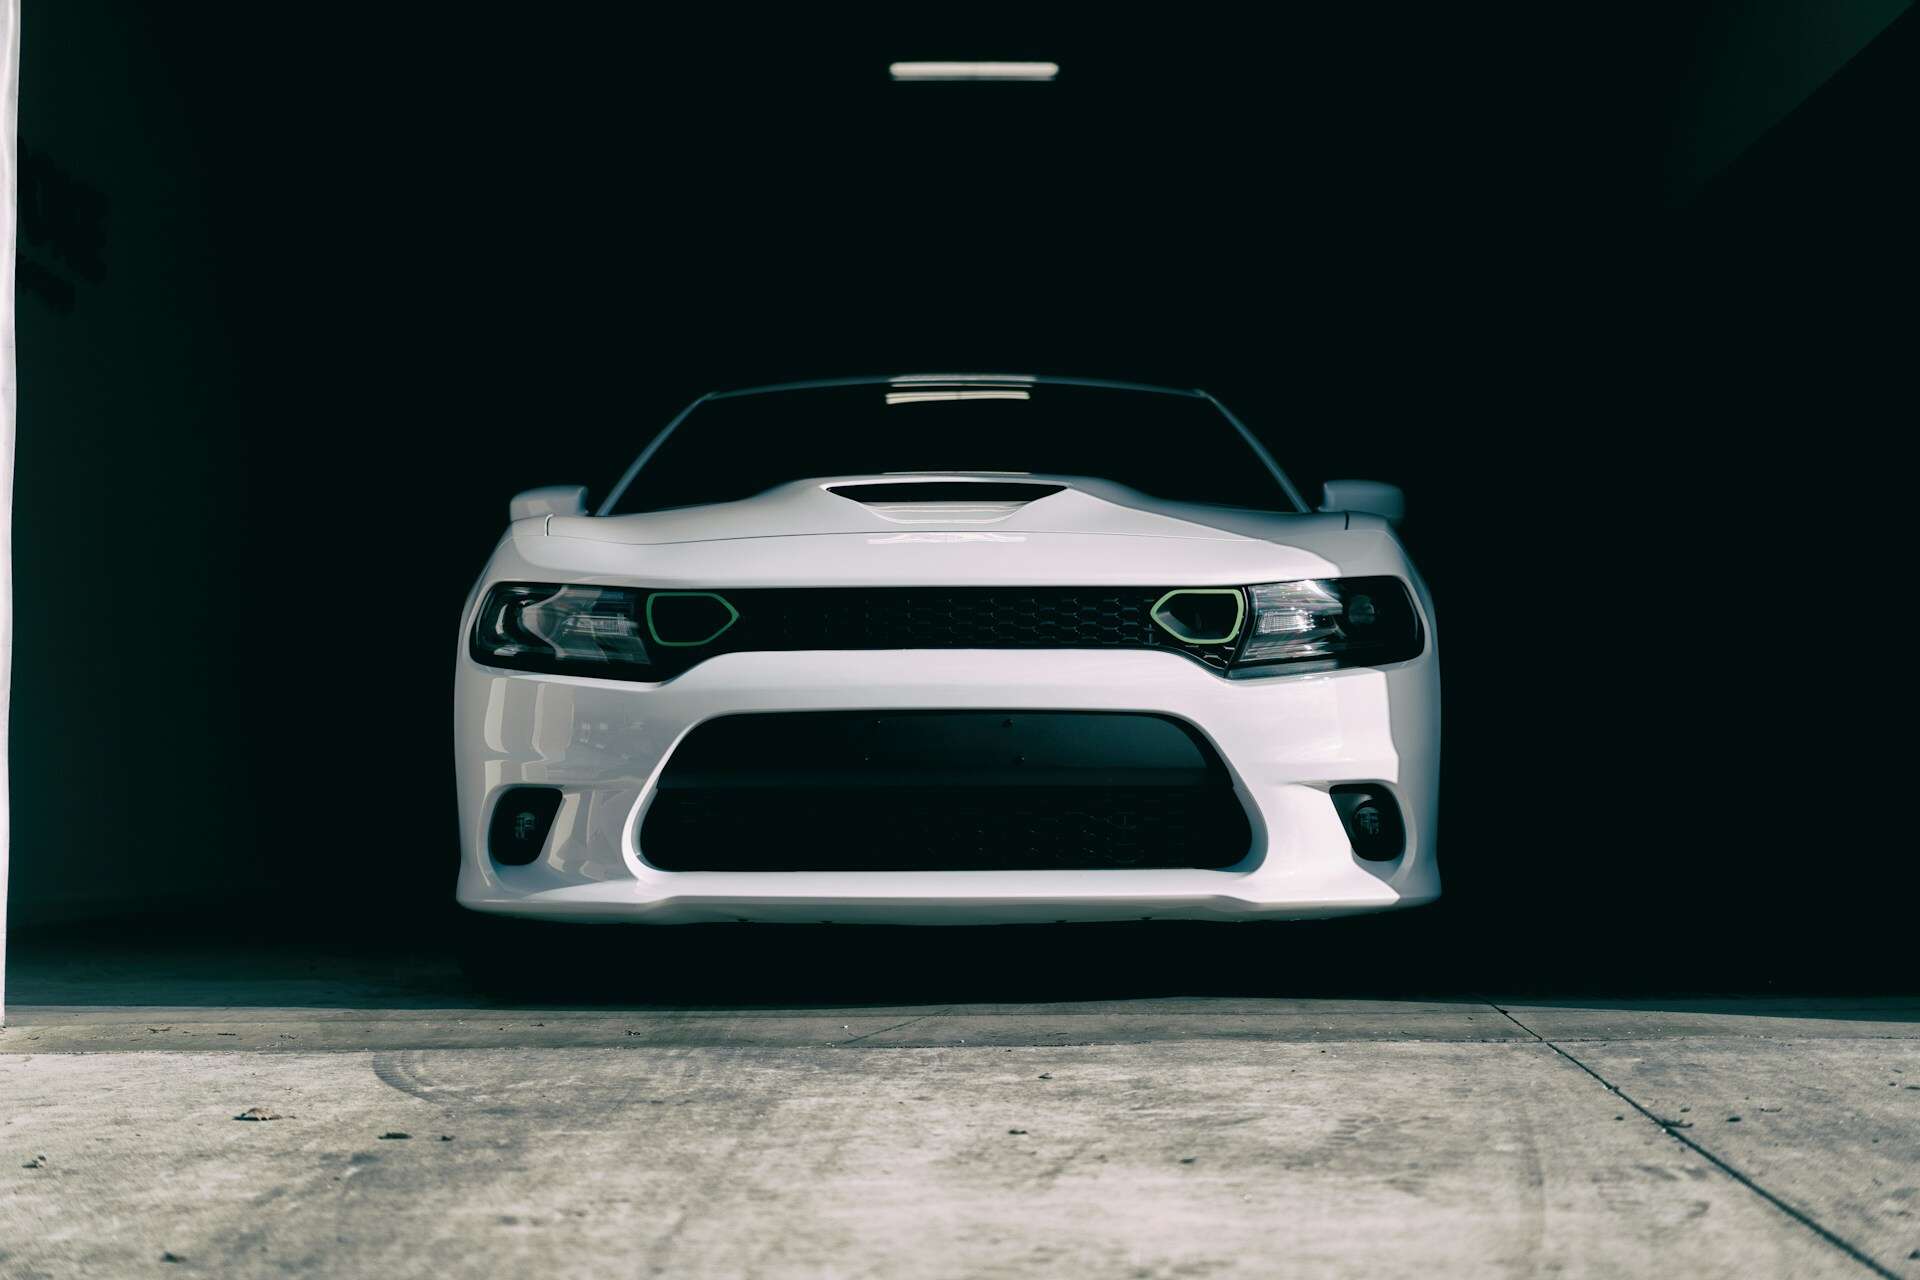
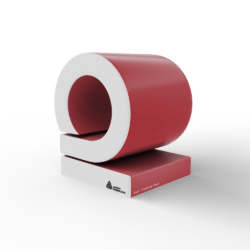
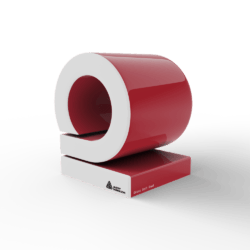
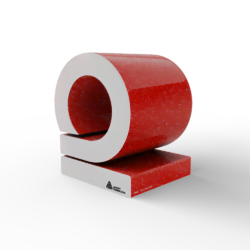
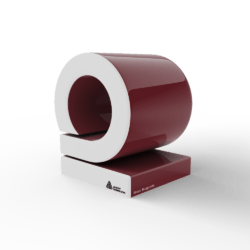
Stepping into the world of vehicle wraps is an exciting journey that leads to a fantastic transformation for your car, truck, or van. But for many, understanding the entire process – from selecting a design, choosing the right materials to the actual installation – can be overwhelming. Worry not; 2wrap.com is here to offer an educational and informative guide on each step of the wraps process, demystifying the art and science behind this incredible vehicle transformation.
In this comprehensive blog, we will walk you through each stage of the vehicle wrapping process, ensuring that you have a clear understanding of how your vehicle’s fresh, new look comes to life. Backed by the expertise and experience of 2wrap.com’s professional team, you can trust that each element of the wraps journey will be thoroughly explained and clarified, offering you the knowledge and confidence needed to make informed decisions for your own vehicle wrap.
From conceptualization to completion, 2wrap.com is dedicated to delivering excellence and precision, ensuring you receive the highest quality results. Explore our shop to browse an array of car wrap colors and finishes, and embark on this enlightening journey to discover the meticulous, fascinating craft that is vehicle wrapping.
Stage One: Conceptualization and Design – Bringing Your Vision to Life
The first stage in the vehicle wrapping process is developing the creative concept that will set your ride apart. This is where your vision, backed by the expertise of the 2wrap.com design team, takes shape. The steps involved in this stage include:
1. Understanding your goals: Before diving into the design, clearly define your objectives. Are you seeking to promote brand recognition? Customize your vehicle for personal enjoyment? Knowing your wrap’s purpose will influence the design direction.
2. Select a style: Decide on the visual elements you want to incorporate in the wrap, such as colors, graphics, logos, and fonts. Browse 2wrap.com’s [shop](https://2wrap.com/shop/) for inspiration and gather ideas to discuss with the design team.
3. Collaborate with designers: Share your ideas and preferences with 2wrap.com’s experienced designers. They’ll work with you to create a visual representation of your concept in the form of a digital proof, ensuring the final design aligns with your vision.
4. Approval: Before moving to the next stage, review the proof carefully. Make any necessary revisions and provide your approval once you’re satisfied with the design. Remember, this is your wrap, and it should be a perfect reflection of your vision.
Stage Two: Choosing the Right Materials – Quality Meets Aesthetics
Once the design is finalized, it’s time to select the right materials for your wrap. This crucial stage ensures that your wrap not only looks stunning but also withstands the test of time. When choosing materials, consider the following:
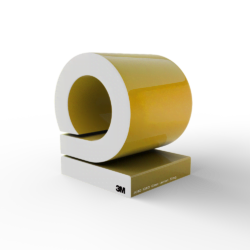
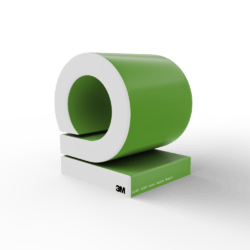
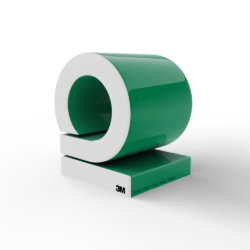
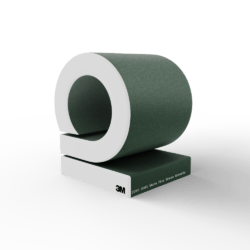
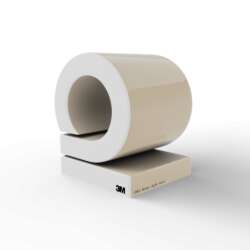
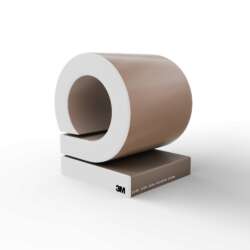
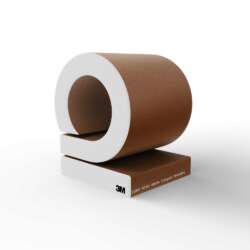
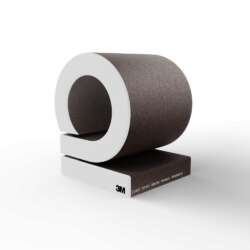
1. Material type: Browse the array of high-quality, durable materials available in 2wrap.com’s [shop](https://2wrap.com/shop/). Identify which material best suits your needs, from color change films to custom-printed wraps.
2. Finish options: Explore various finish options such as matte, gloss, satin, or metallic. Consider how each finish aligns with your design goals and vehicle’s aesthetics.
3. Quality: Ensure you select premium materials that resist fading, cracking, and peeling. Quality materials, combined with expert installation, guarantee a longer lifespan for your vehicle wrap.
4. 2wrap.com’s guidance: Seek advice from the experienced team at 2wrap.com who can guide you in selecting the best materials to meet your specific goals and style preferences.
Stage Three: Prepping Your Vehicle – The Foundation for Flawless Results
Before installation begins, it’s crucial to thoroughly prepare your vehicle’s surface to ensure a seamless and durable application. The steps involved in prepping your vehicle include:
1. Cleaning: Thoroughly clean and dry your vehicle’s exterior, removing any dirt, grease, or contaminants that might hinder the wrap’s adhesion. 2wrap.com’s team will meticulously clean your vehicle to ensure a pristine surface for the wrap application.
2. Removing accessories: Detach any accessories, such as mirrors, trim, ornaments, or badges, to guarantee a smooth application with minimal obstructions.
3. Inspecting the surface: Closely inspect your vehicle’s surface for any existing damage, such as paint scratches, dents, or rust. Addressing these issues prior to installation will contribute to a flawless wrap appearance and a better end result.
Stage Four: Professional Installation – It’s Time for Transformation
Now that your vehicle is prepped and your design and materials are finalized, it’s time for the magic to happen. During the installation stage:
1. Skilled technicians: Trust the certified and experienced technicians at 2wrap.com to expertly apply the wrap with precision and care.
2. Meticulous application: The installation team will ensure that the wrap adheres smoothly to your vehicle’s contours, avoiding air bubbles, wrinkles, or lifting.
3. Quality control: Throughout the installation process, the 2wrap.com team will monitor quality, ensuring that the final result meets their high standards and your expectations.
4. Finishing touches: Once the wrap is installed, the team will reassemble accessories removed during the prep stage, leaving your vehicle looking flawless and ready for the road.
Conclusion
The vehicle wrapping process, from concept to completion, is an intricate and engaging journey that brings your vision to life. Trusting the talented and professional team at 2wrap.com ensures that every stage of the process is handled with care, precision, and a commitment to excellence. Understanding the process helps you make informed decisions and appreciate the remarkable transformation your vehicle undergoes.
Ready to start your vehicle wrapping journey? Contact the experts at 2wrap.com for a consultation and explore our extensive selection ofcar wrap colors, materials, and finishes.
 Referal Letter Aquila Yacht
 carwrap simulator
 3D CARWRAP CONFIGURATOR


